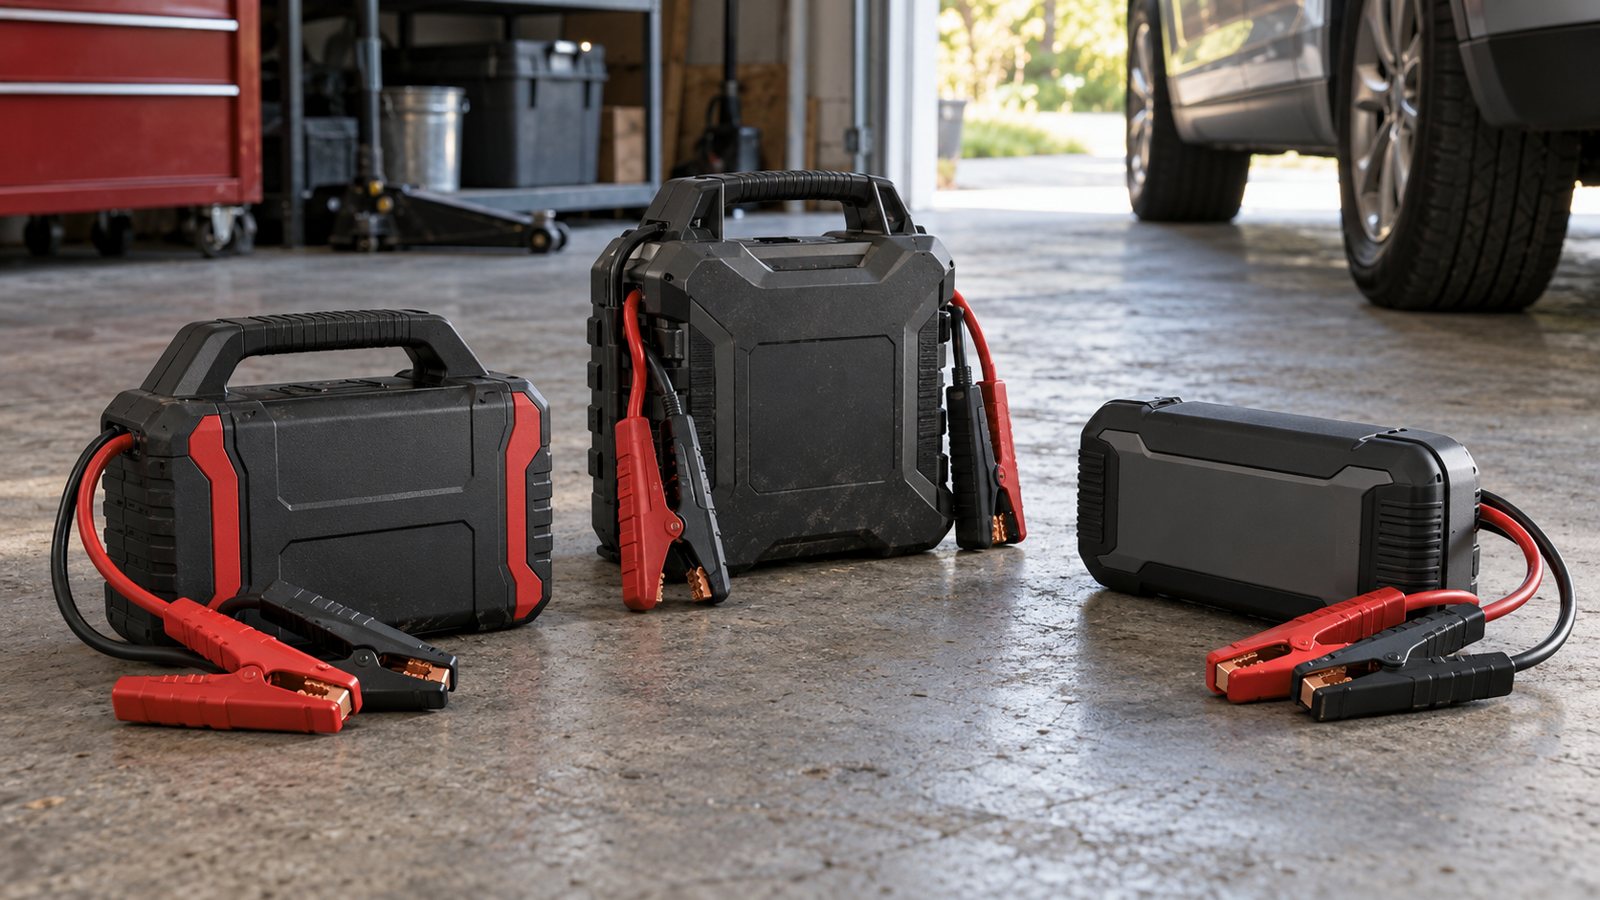
How to Use a Portable Jump Starter, Step by Step
Step-by-step jump starting, based on NOCOs GB40 user guide.
We may earn a commission when you buy through links on this page, at no extra cost to you. This does not change which products we cover. How we make money.
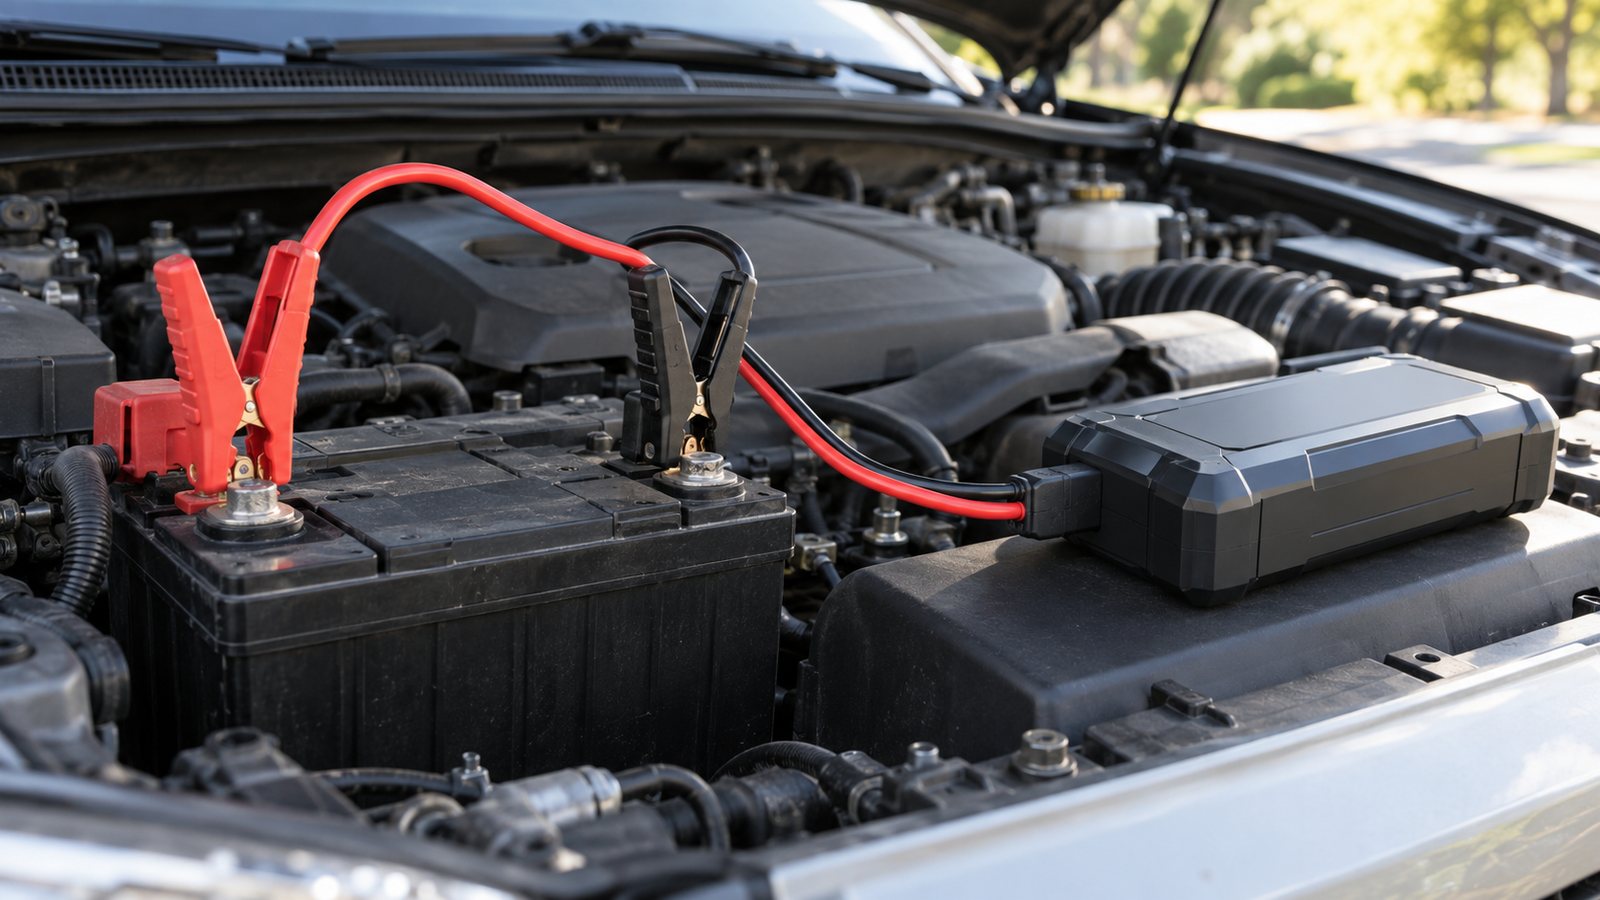
These steps follow NOCO’s GB40 guide for a negative-ground 12 V system, the most common type. Check your own unit’s manual and your car’s owner’s manual.
Steps
- Turn off the ignition, lights and other loads.
- Plug the clamps into the jump starter.
- Connect the red clamp to the positive (+) terminal.
- Connect the black clamp to the negative (-) terminal or bare chassis metal. Avoid the carburetor, fuel lines and thin sheet metal.
- Press Power. A white Boost LED means ready. A red Error LED means the clamps are reversed.
- Start the car. NOCO says some cars need up to 30 seconds connected. If it does not start, wait 20 to 30 seconds and retry.
- Stop after 5 tries in 15 minutes and let the unit rest 15 minutes.
- Once running, remove the black clamp first, then the red.
Manual Override
NOCO’s Manual Override (hold 3 seconds) is for batteries under 2 V. It turns off spark-proof and reverse-polarity protection, so NOCO says to use it with extreme care or seek help.
Need one? See best portable jump starters and GB40 vs GB70.
Frequently asked questions
Which clamp goes on first?
NOCOs guide says red to the positive terminal first, then black to negative or chassis ground. Remove negative first.
How many times can I try?
NOCO says no more than 5 attempts in 15 minutes, then let the unit rest 15 minutes.